I'm starting to
think it might be time to pay someone to mow my yard!
The first problem
you will discover is starting the riding mower. In order to make the silly
thing start, you have to connect it to the battery charger. Almost from the time
we bought the mower, Michael has had Use the charger to start the mower. As
time has gone on, the battery won’t work without charging it for several hours
first. This means you have to plan ahead for mowing – no spontaneous “I’d
better get the mowing done before the rain hits tonight!” (Not that we have
much rain in Texas)
If you are lucky
enough to get the mower running, the actual mowing has never been an easy job.
Our house is up on a little hill and the incline is very steep. The riding
mower works if you start on the top and go down which means you have to make
lots of round trips. A riding can’t go up the hill. Of course there is always
the push mower but that gets tiring very, very quickly and in the heat of
summer over heating is even more of a possibility with the push mower. I do
have a self-propelled mower but it’s still a lot of work!
This is my second
summer to take care of my yard. Over that time, I’ve had problems.
- Got the mower
stuck and couldn’t get it out. Luckily, a friend happened to drive by and
helped me get it out.
- Mower has
completely stopped because the blades were so bogged down from grass. Smoke was
coming out of the engine (called the neighbor to help that time)
- Couldn’t get
the self-propelled mower to start (Dad took it home and worked his “magic.”)
- Couldn’t get
the gas trimmer to start (Dad bought a new filter)
- Couldn’t get
any of the grass mowing devices to work – riding mower not charged &
bad gas
Today might be the
straw that broke the camel's back for me. As I have found dead limbs, I have
either put them on my car hauler trailer or on top of the cellar. As I was
mowing past the cellar, a limb was sticking out and I needed to move it. Not a
problem! I got off the mower after setting the brake so that the engine
wouldn’t die. The limb wouldn’t move so I started to attempt to break it. As
soon as it broke though, another limb popped up into my face! It hurt but the
next thing I knew, blood was gushing from my nose and I thought it was broken.
While applying pressure to my nose, I drove the stupid riding mower back into
the carport before I killed the engine.
The good news is
that I didn’t break my nose. I now look like there’s a tick on the end of my
nose. There’s a scratch down the right jawline and another scratch down my
upper lip
The next several
days should be interesting. I’m not sure there’s enough makeup in my house to
cover this up. And really, is it worth trying to cover it up? I don’t think it’s
worth trying to cover it up. Oh well, another lesson learned! At least, I hope
I’ve learned something from this recent adventure of the “Weekend Warrior!”
(By the way –
anybody want to volunteer to mow my yard?)
So, the last time I updated on the bathroom progress, it was January 8, 2013 and it was Part 1! If you were to judge the progress by the postings alone, it would appear that no work has been done since then. Well, I’m here to tell you that, thankfully, that it was not the case at all! My dad and I have been working on the bathroom. During the time of the bathroom rehab, Bobby and I had something almost every night and most weekends. By the time I would sit down in the evenings, there was no energy left for blogging. The good news is that we did take lots of pictures throughout the process. I promise not to post them all at one time!
For this post, I will start simply with the shower area! The first post showed the removal of the original tub.
Now for the next step:
We began removing the original flooring from under the tub because it was rotting in some places and had mold in other places. I got to use the skill saw for the first time! (Love learning how to use new/different tools!)

Between the two floors was a paper very similar to tar paper that we removed to reveal the subfloor which was in excellent condition.

We placed a liner between the subfloor and the new marine plywood to protect the subfloor from any possible water damage in the future but unfortunately, we have no pictures except this one showing a cutout from the drain hole.

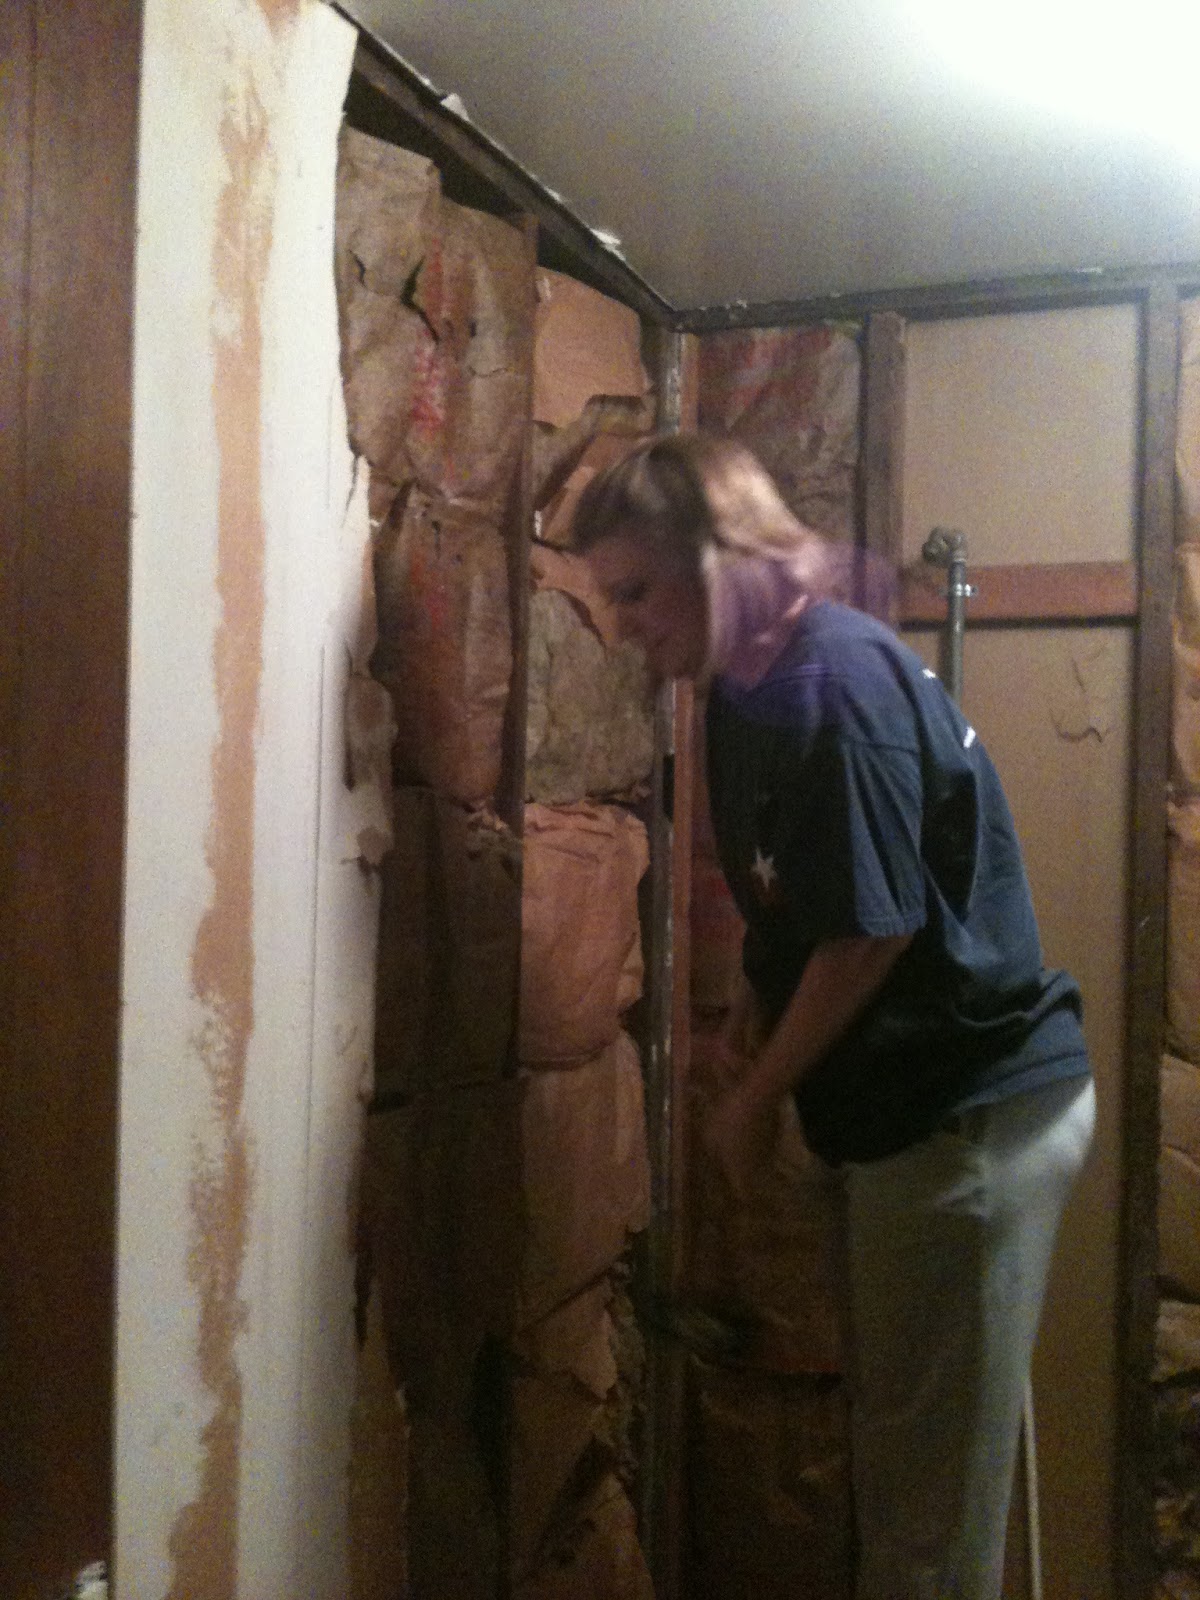
On to the walls surrounding the shower stall – We ended up removing the drywall completely in that area because of the mold. I even got to use the sledge hammer to destroy some of the dry wall! That’s an awesome feeling if you ever get to do that!

The old plumbing was removed and instead we used a product called PEX which allows for expansion due to frozen pipes and also uses a crimping tool to join the pipes to joints. It allows for easy pipe repair also!

The new green drywall is installed:

Now, to install the shower:
Pieces of 2x4” were used to brace the shower walls to the wall while the Liquid Nails dried.

The completed shower!

So, there you have it - part 2 of the rehab! Hopefully, it won’t be such a long time before I post the next part of our bathroom rehab project!