For this post, I will start simply with the shower area! The first post showed the removal of the original tub.
Now for the next step:
We began removing the original flooring from under the tub because it was rotting in some places and had mold in other places. I got to use the skill saw for the first time! (Love learning how to use new/different tools!)

Between the two floors was a paper very similar to tar paper that we removed to reveal the subfloor which was in excellent condition.

We placed a liner between the subfloor and the new marine plywood to protect the subfloor from any possible water damage in the future but unfortunately, we have no pictures except this one showing a cutout from the drain hole.

On to the walls surrounding the shower stall – We ended up removing the drywall completely in that area because of the mold. I even got to use the sledge hammer to destroy some of the dry wall! That’s an awesome feeling if you ever get to do that!
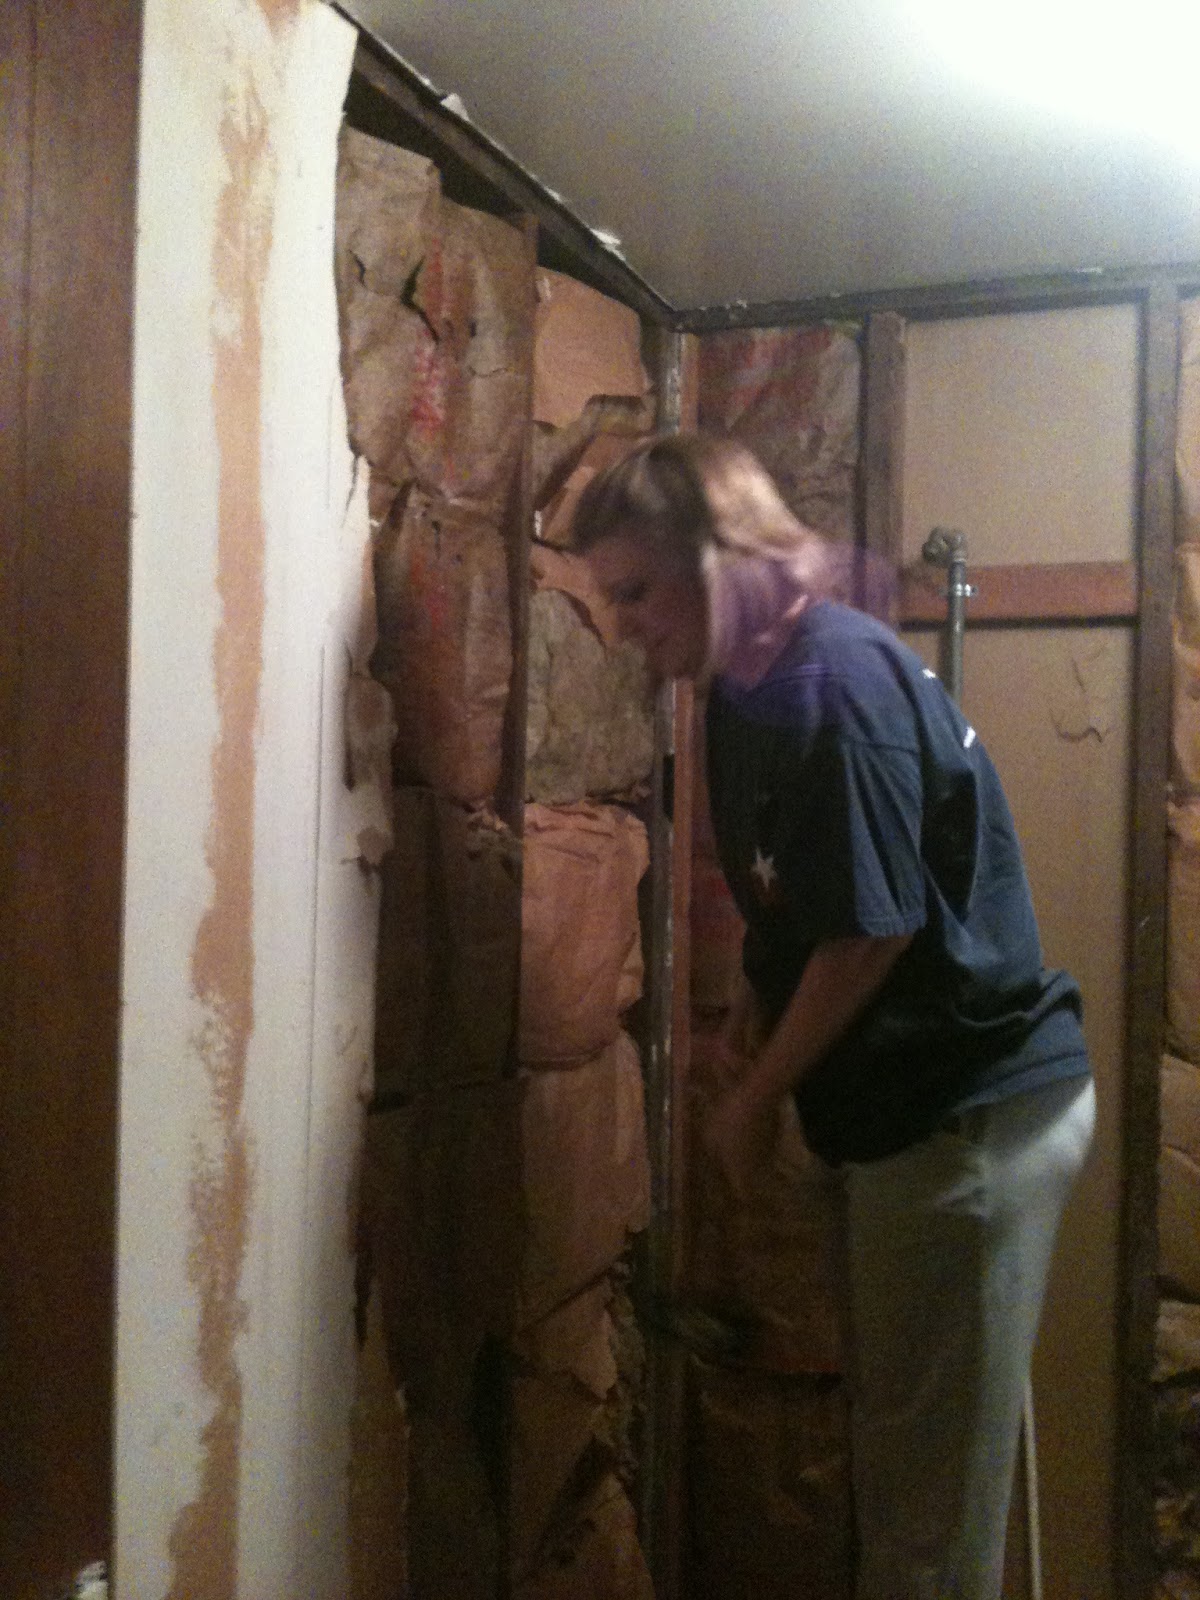
The old plumbing was removed and instead we used a product called PEX which allows for expansion due to frozen pipes and also uses a crimping tool to join the pipes to joints. It allows for easy pipe repair also!

The new green drywall is installed:

Now, to install the shower:
Pieces of 2x4” were used to brace the shower walls to the wall while the Liquid Nails dried.

The completed shower!

So, there you have it - part 2 of the rehab! Hopefully, it won’t be such a long time before I post the next part of our bathroom rehab project!
wtg...good job Kristen!
ReplyDelete